Testnet Quests
Four quests that together walk you through the whole privacy flow:
Doing them in that order is the point. Steps 1–3 hide a payment end to end; step 4 is what keeps that usable in the real world — privacy you can never prove is no good for an audit, a tax return or a dispute.
Rules they all share
- 3 times per week, once per day each.
- Proof is a string you paste — a transaction hash or a disclosure key. It is checked on-chain, so there is no reviewer and no waiting. Forgot to copy a hash? Every transaction stays in Activity.
- Every proof works once, for one member. A hash or key already claimed cannot be reused.
- They grow your on-chain multiplier, worth up to 1.5× on these payouts — see Streaks & Weekly Activity.
Before you start
Get testnet ORB
You cannot shield what you do not have. Claim free tokens from the testnet faucet: 10 ORB every 24 hours. They have no economic value — testnet runs permanently, so top up whenever you run out.
Unlock your Private Vault
All four quests happen in Private Pool, and it starts locked. Unlocking asks you to sign a message with your wallet — off-chain, no gas, no funds moved. That signature derives the keys that decrypt your notes; without it the app cannot read your shielded balance, because nobody else can either.
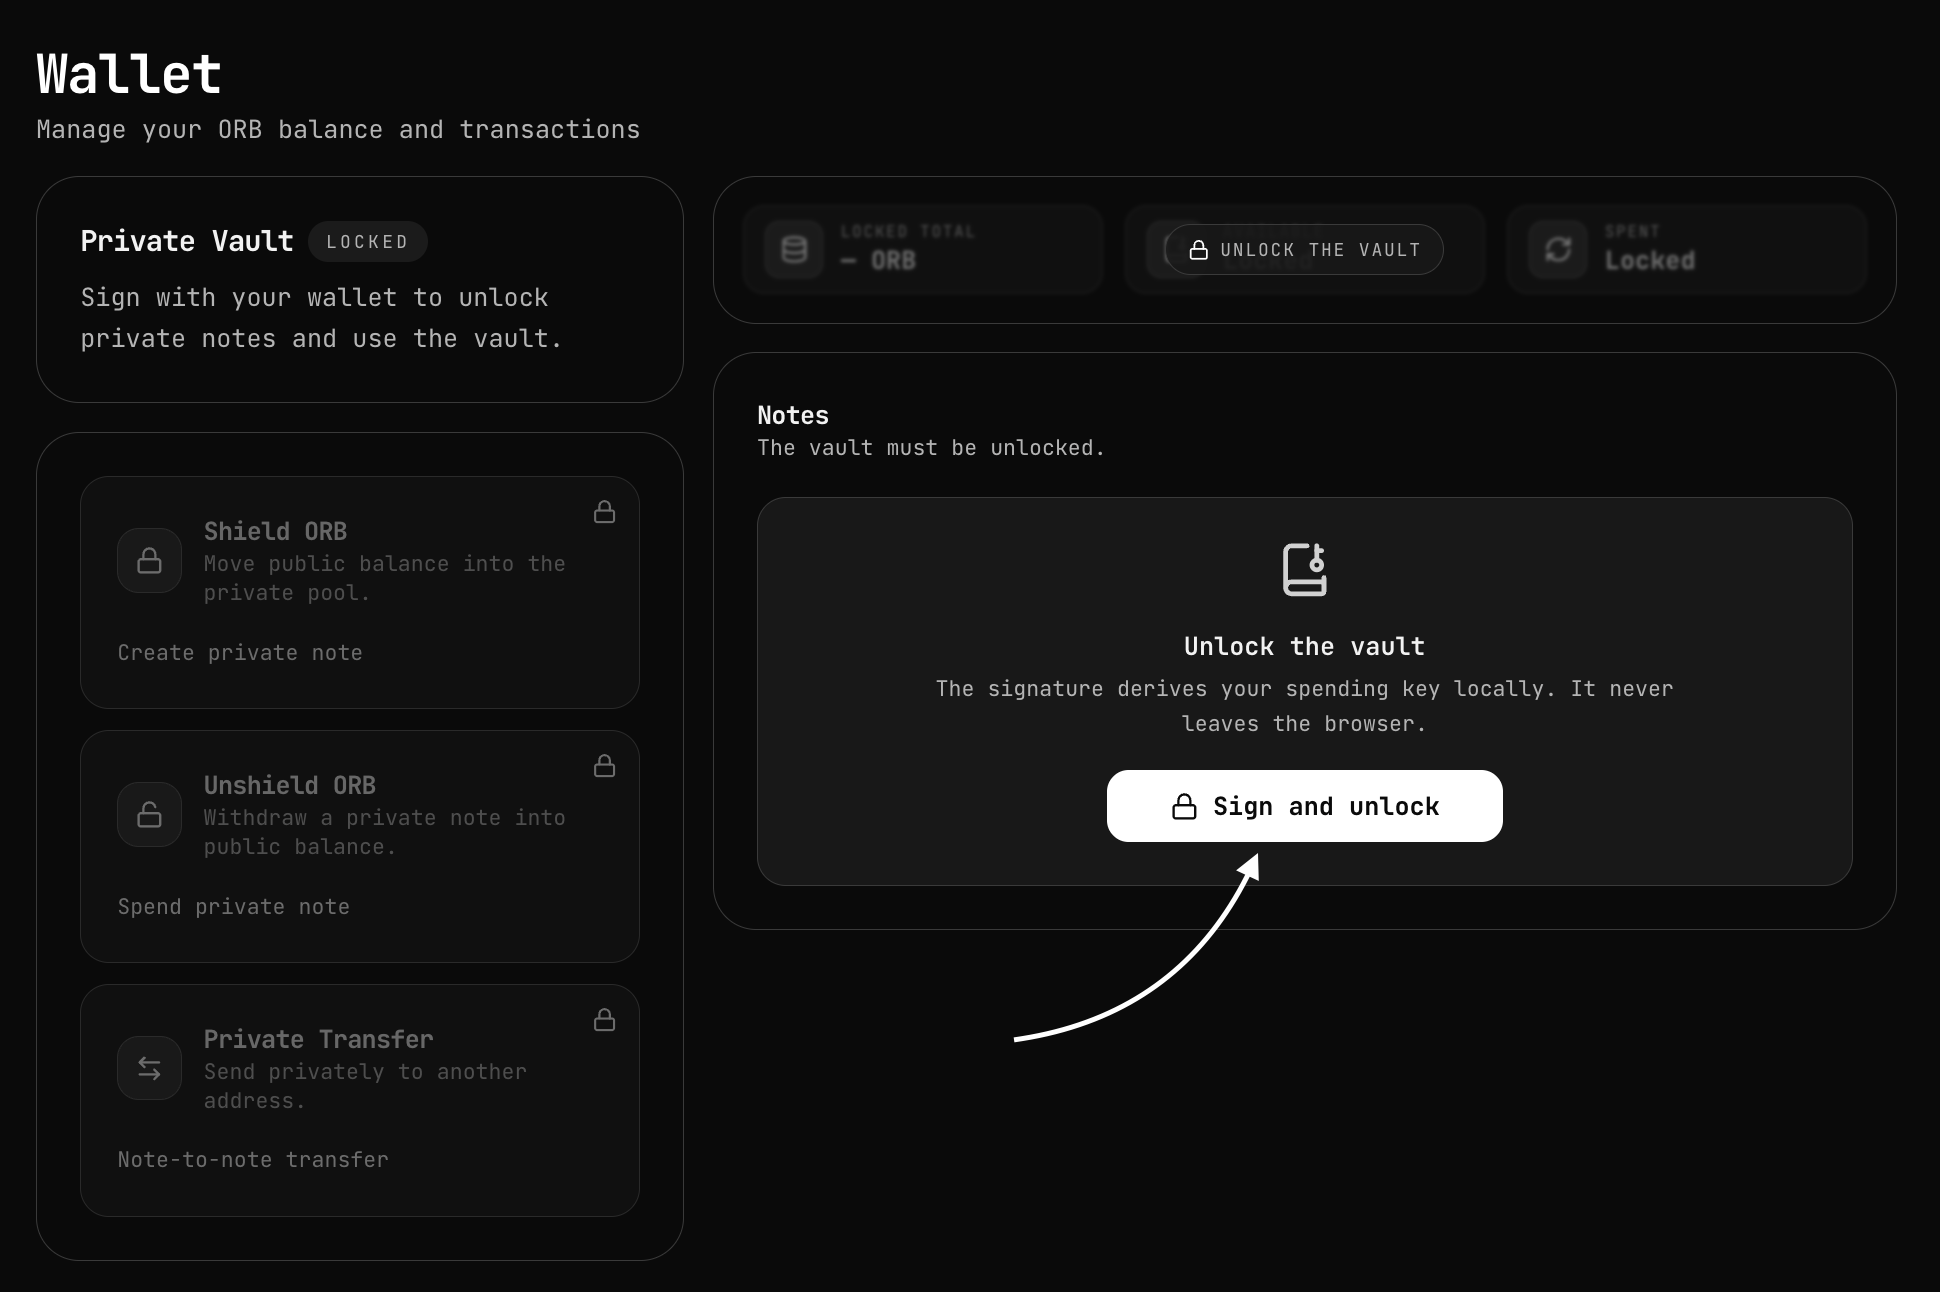
Once unlocked you get the full Private Pool view: your shielded balance, your privacy address, and the Notes panel where every shield and transfer lands.
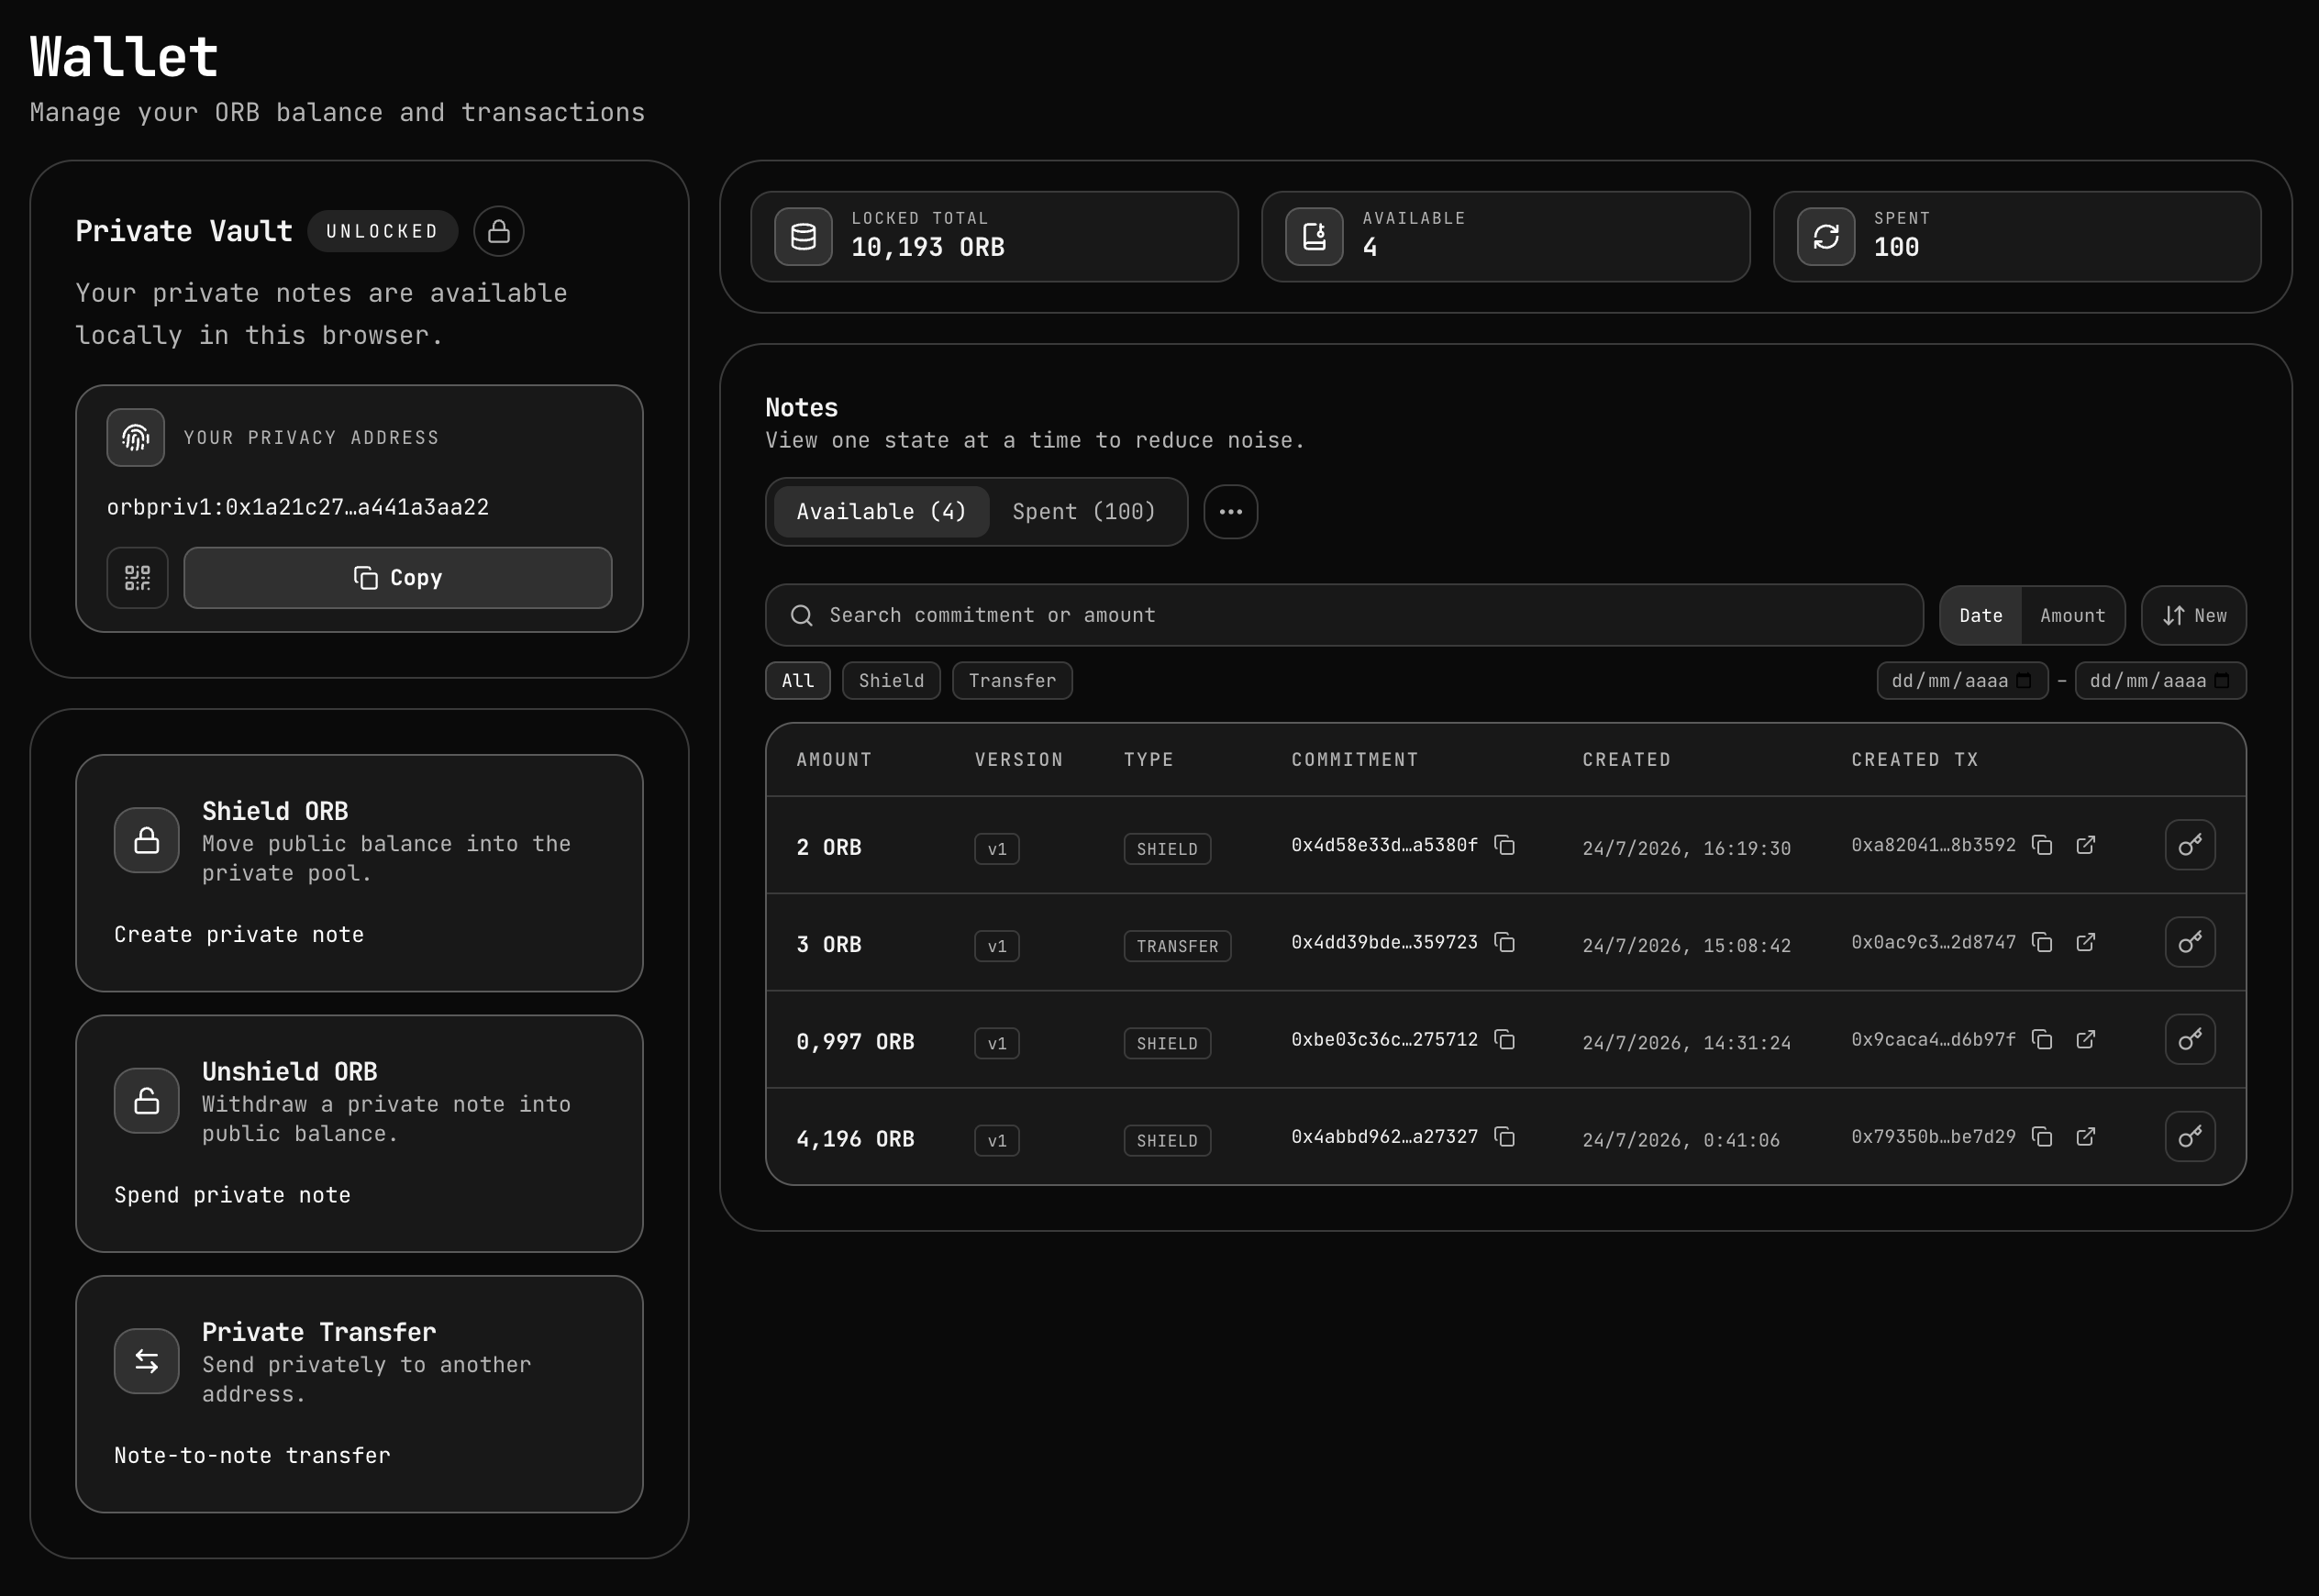
The keys are derived in your browser and stay there. Orbinum never sees them — which is also why the vault re-locks and asks again on a new device.
Find the quests
The four live under On-chain on the quest board: app.orbinum.network/community#quests.
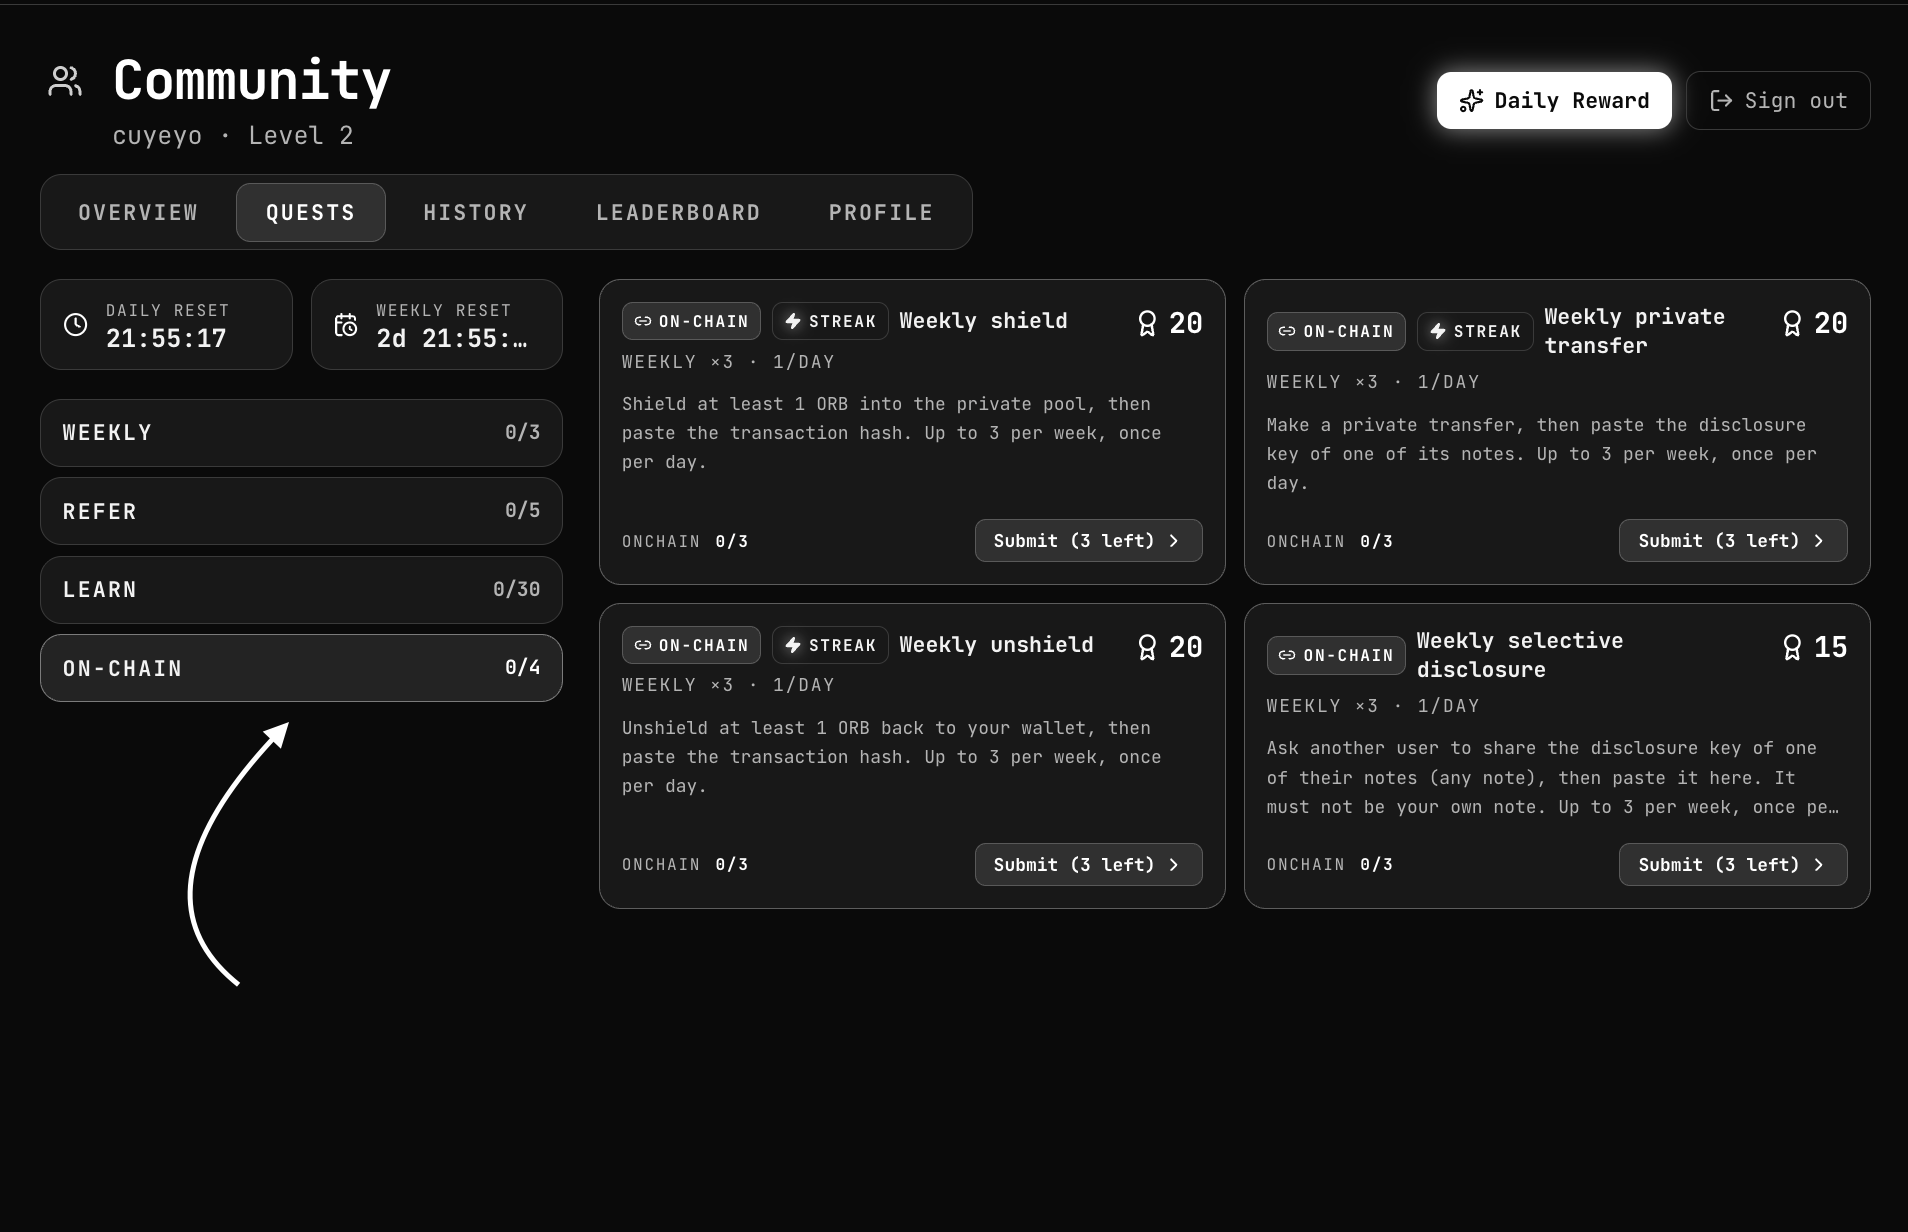
Keep that tab open alongside Private Pool: you do the action in one, then claim in the other.
1. Shield — put money into the pool
Minimum 1 ORB.
Shielding moves ORB from your public balance into the shielded pool. Anyone can see that you shielded; from here on, what you do with it is private.
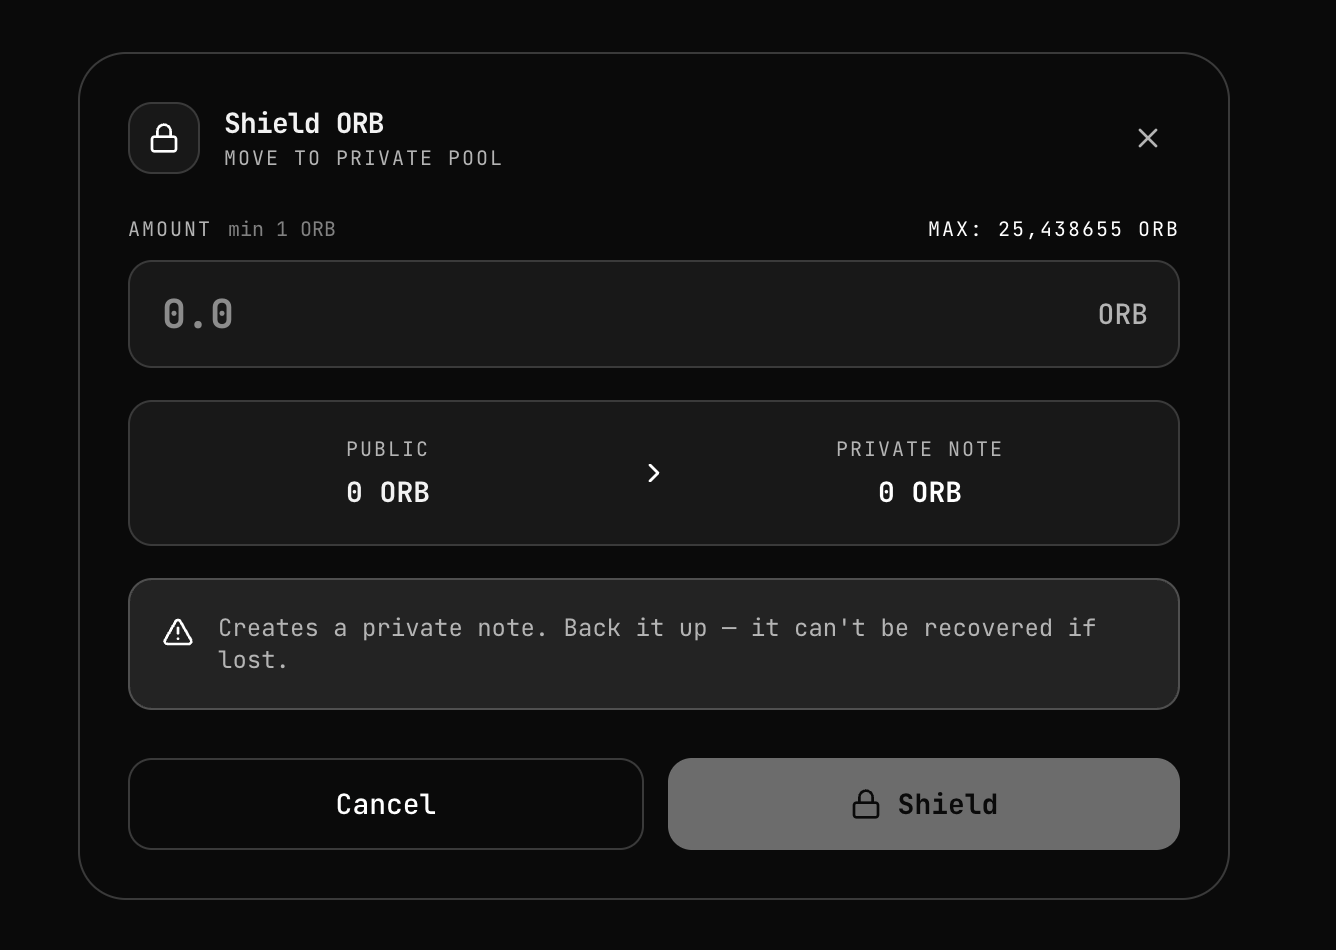
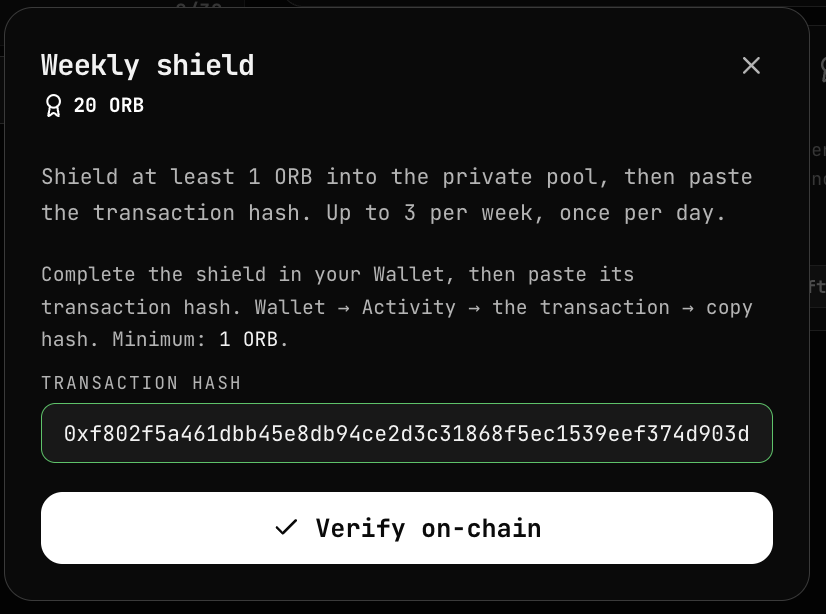
- Wallet → Private Pool → Shield, at least 1 ORB.
- Copy the transaction hash (
0x…) — from the confirmation, or later from Activity. - On the quest, press Submit and paste the hash.
2. Private transfer — move it invisibly
No minimum.
Send part of your shielded balance to a privacy address. This is where privacy actually happens: no public trace of sender, receiver or amount.
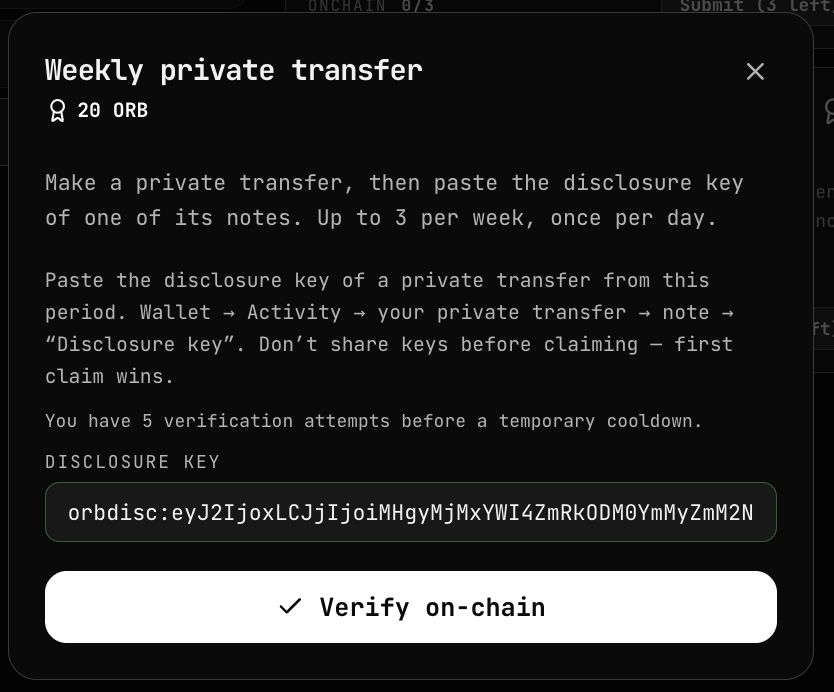
Because there is nothing public to look up, you prove it with a disclosure
key — an orbdisc:… string that reveals one note and nothing else.
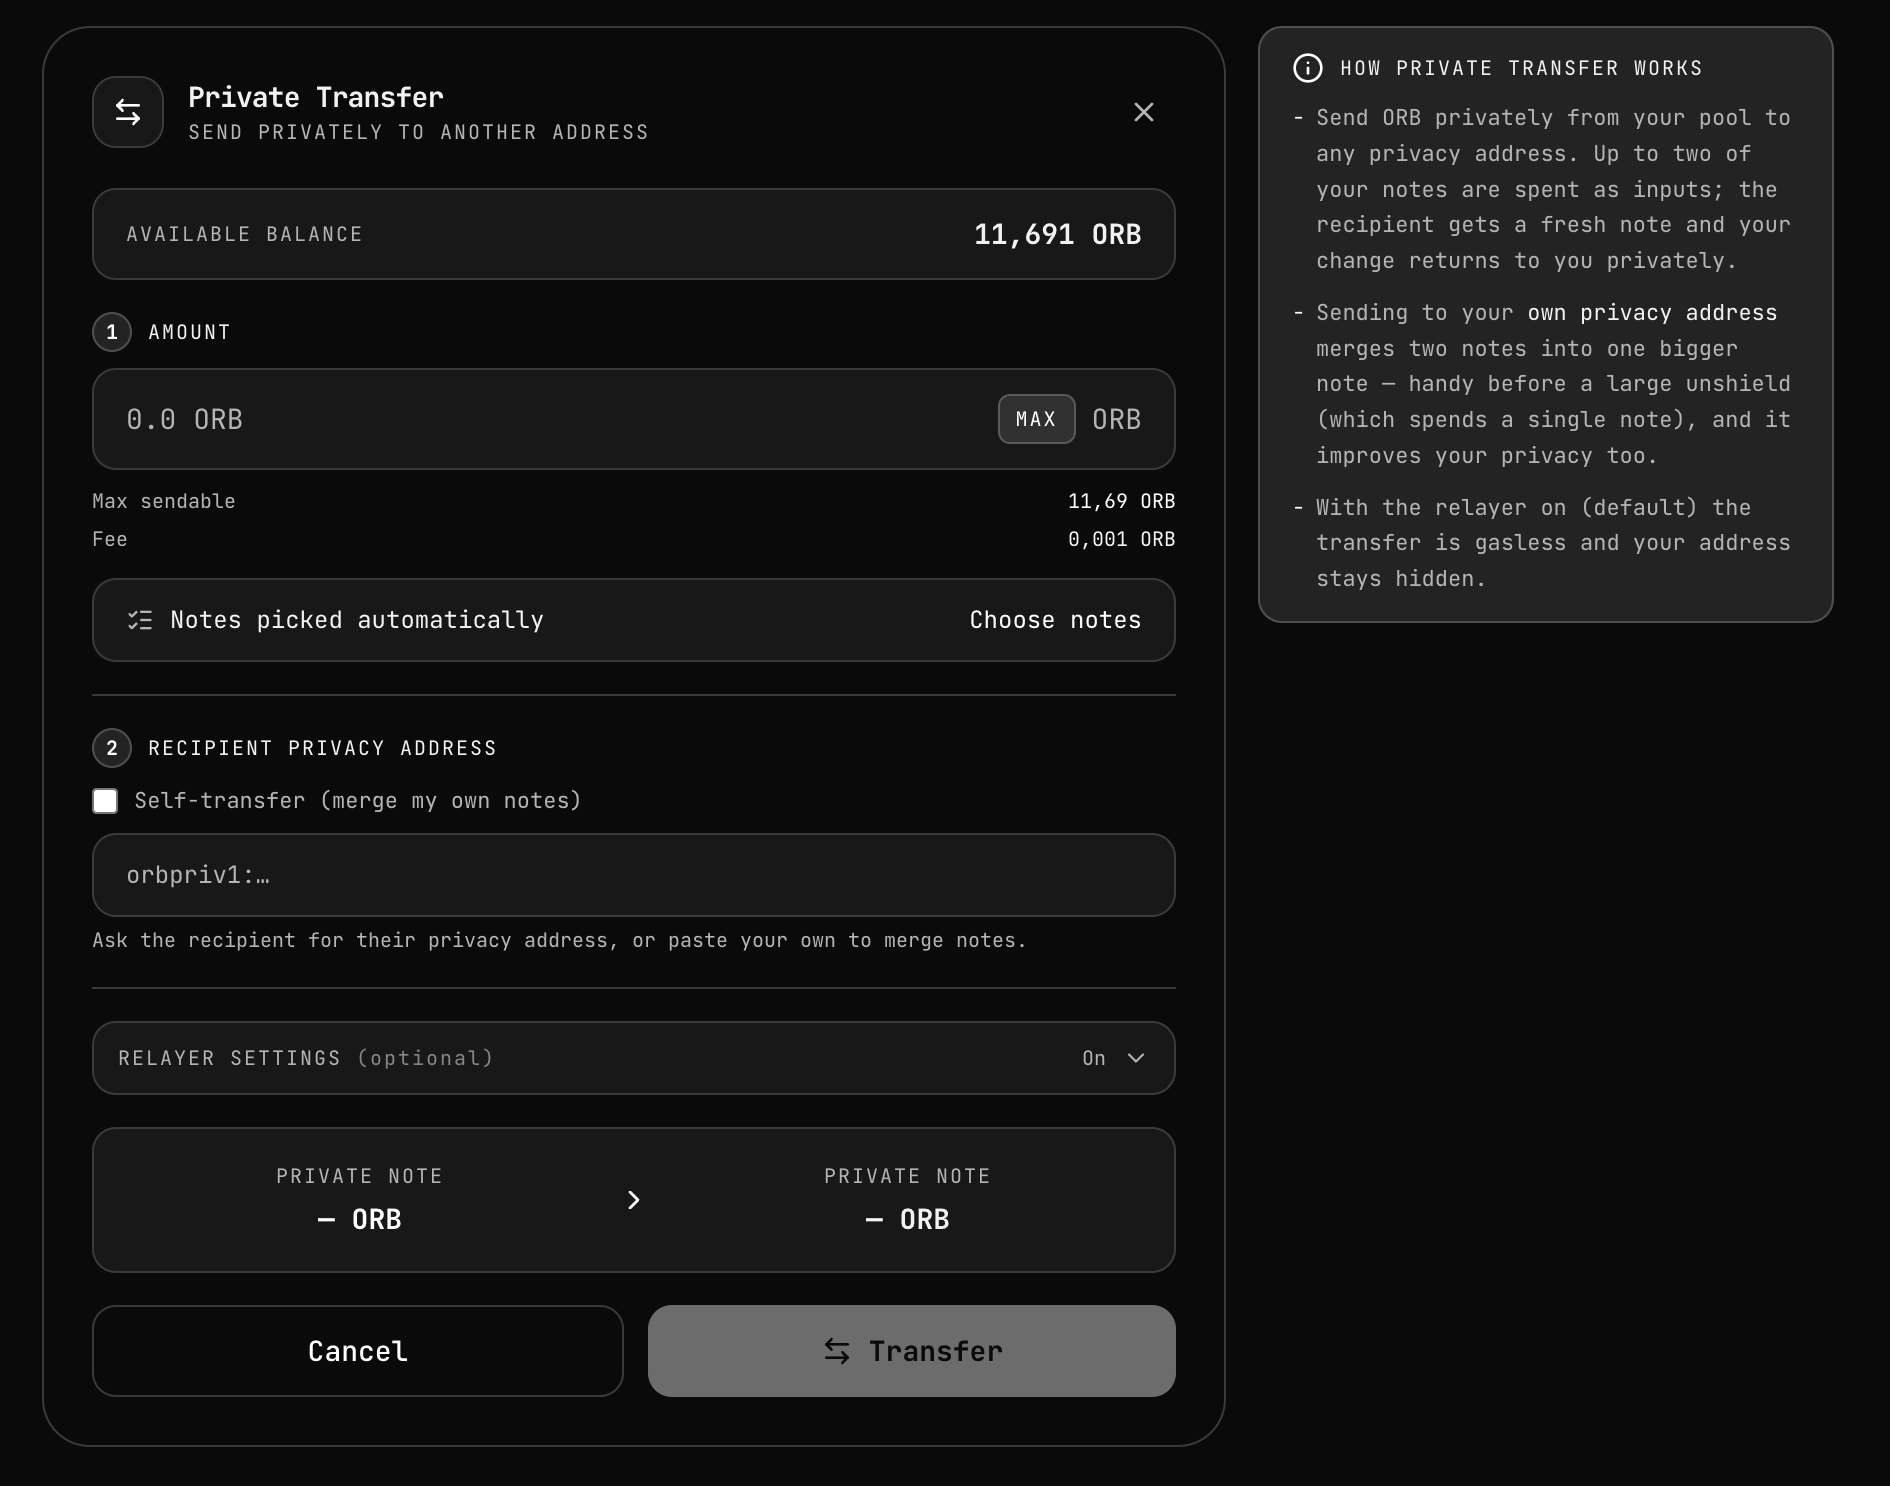
- Wallet → Private Pool → Private Transfer, any amount.
- In the Notes panel, press share on the new note → Copy Key.
- On the quest, press Submit and paste the key.
A private transfer can go to your own privacy address — it splits or merges your notes and mints brand-new disclosure keys. Those count, so you never run out of keys to claim.
Your privacy address is in the Private Vault panel at the top of Private Pool.
Whoever submits a key first gets the credit. Claim your own transfers before sharing their keys with anyone.
3. Unshield — bring it back out
Minimum 1 ORB.
The reverse of step 1: shielded balance returns to your public address. The link between what went in and what came out stays hidden.
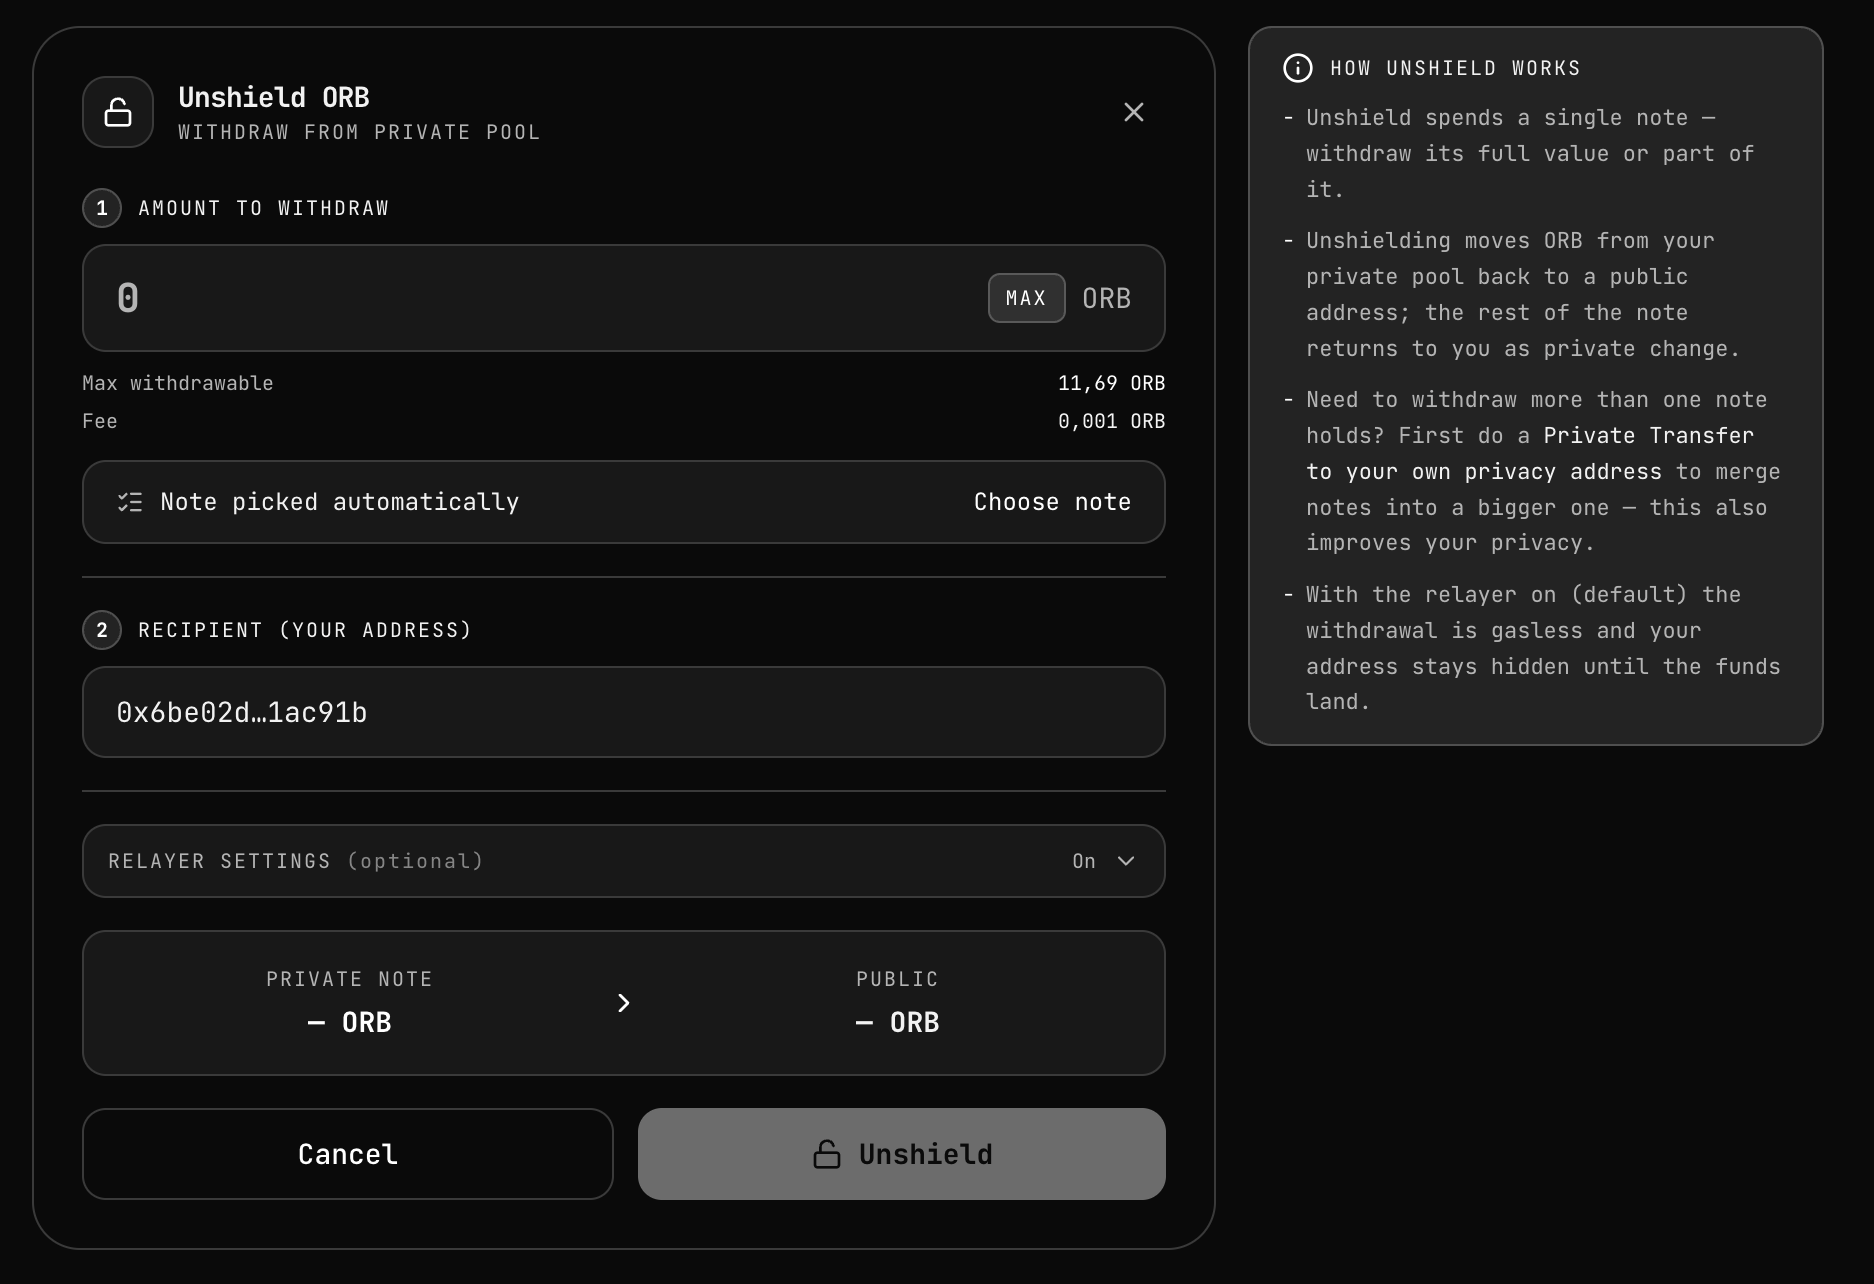
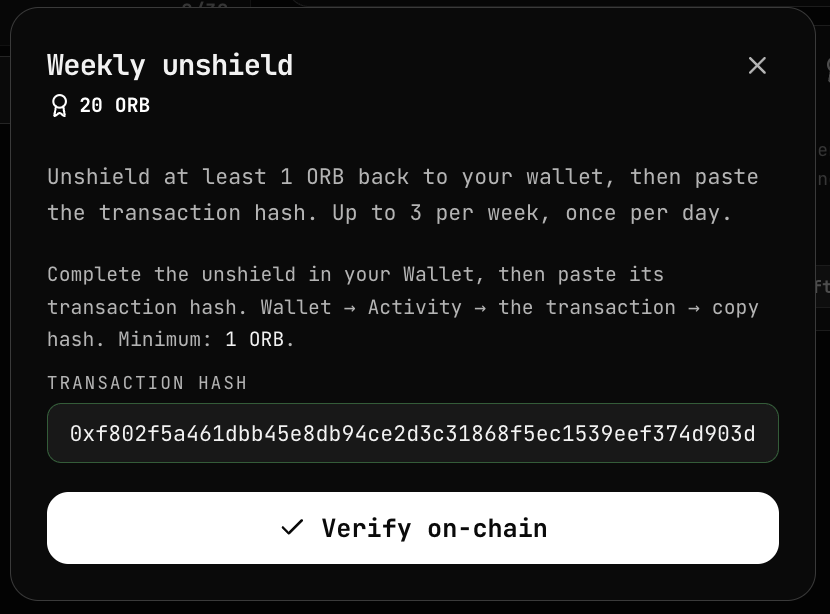
- Wallet → Private Pool → Unshield, at least 1 ORB to your own wallet.
- Copy the transaction hash — from the confirmation, or from Activity.
- On the quest, press Submit and paste it.
4. Selective disclosure — verify someone else's transfer
This one needs another person. Steps 1–3 proved your activity; here you are on the receiving end of a disclosure — a key that lets you verify one transfer someone else made, and nothing else about their balance or history.
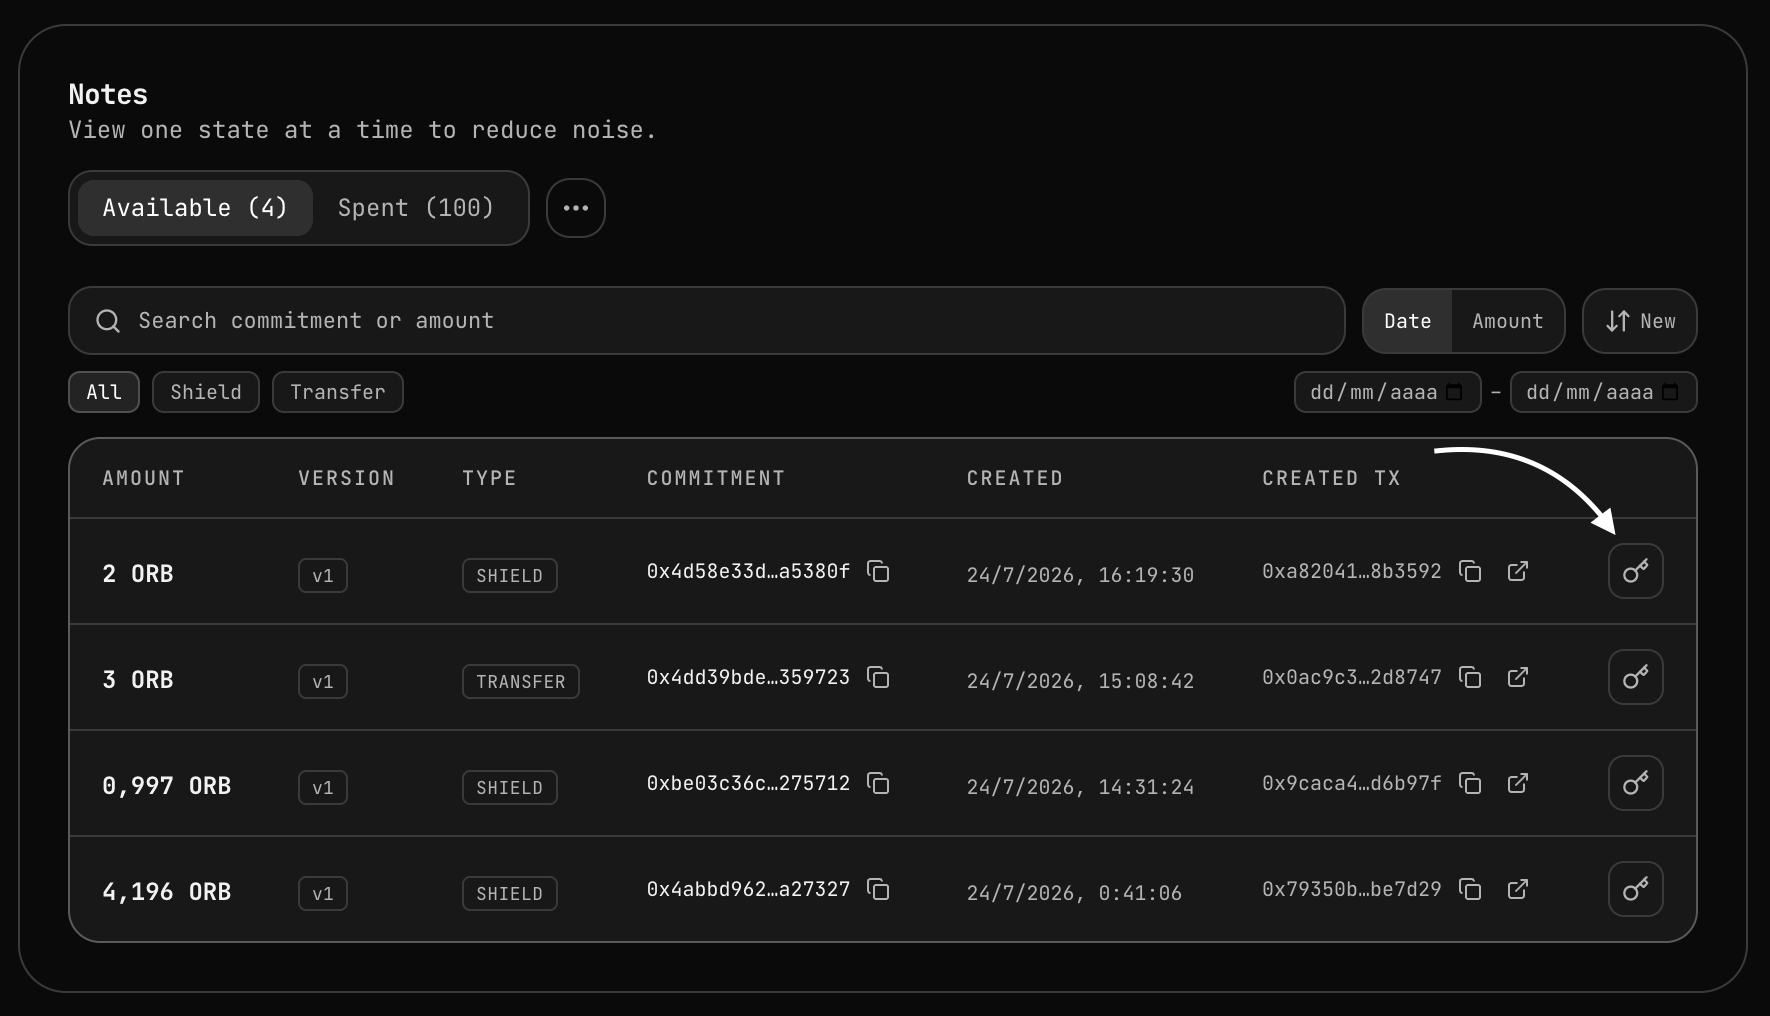
- Ask another member to share a disclosure key of one of their notes — any note, no minimum.
- On the quest, press Submit and paste their key.
- Your browser checks privately that the note is not yours. Your viewing key never leaves your device.
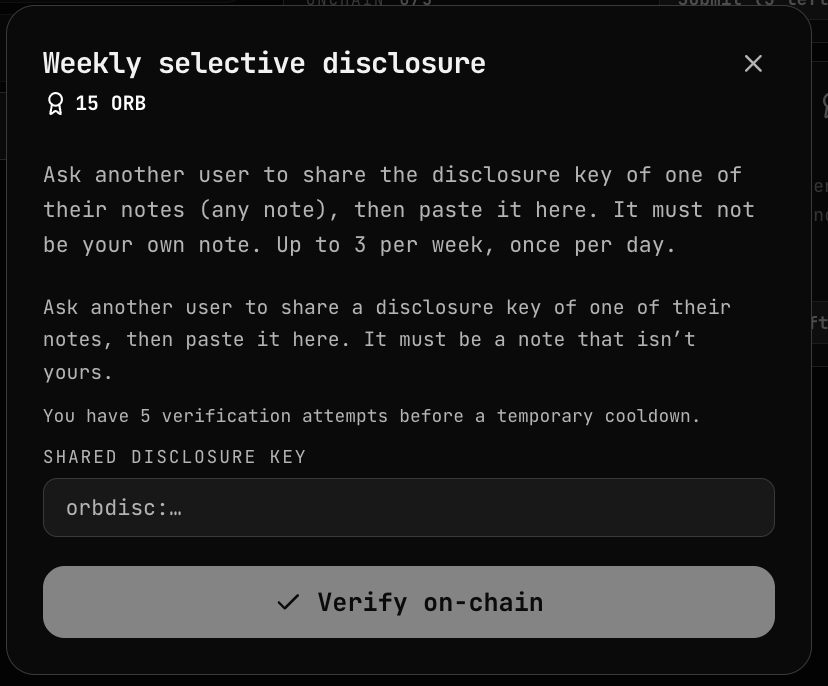
Your own keys will not pass. And a key works once, for one member — if it is shared in a group chat, only the first to submit gets the credit. Ask for a key meant just for you.
Where to find one: the #disclosure-keys channel in the Orbinum Discord exists for exactly this — members post keys to swap. Take one that nobody has claimed yet, and drop one of yours in return.
If a claim fails
Do the action first, then claim — claiming before the transaction is on-chain is the usual reason a claim comes back empty.
Repeated failures trip a cooldown that grows each time (5m → 15m → 30m → 60m → 12h). One valid claim resets it. It exists to stop claim-spamming, not to punish honest retries.